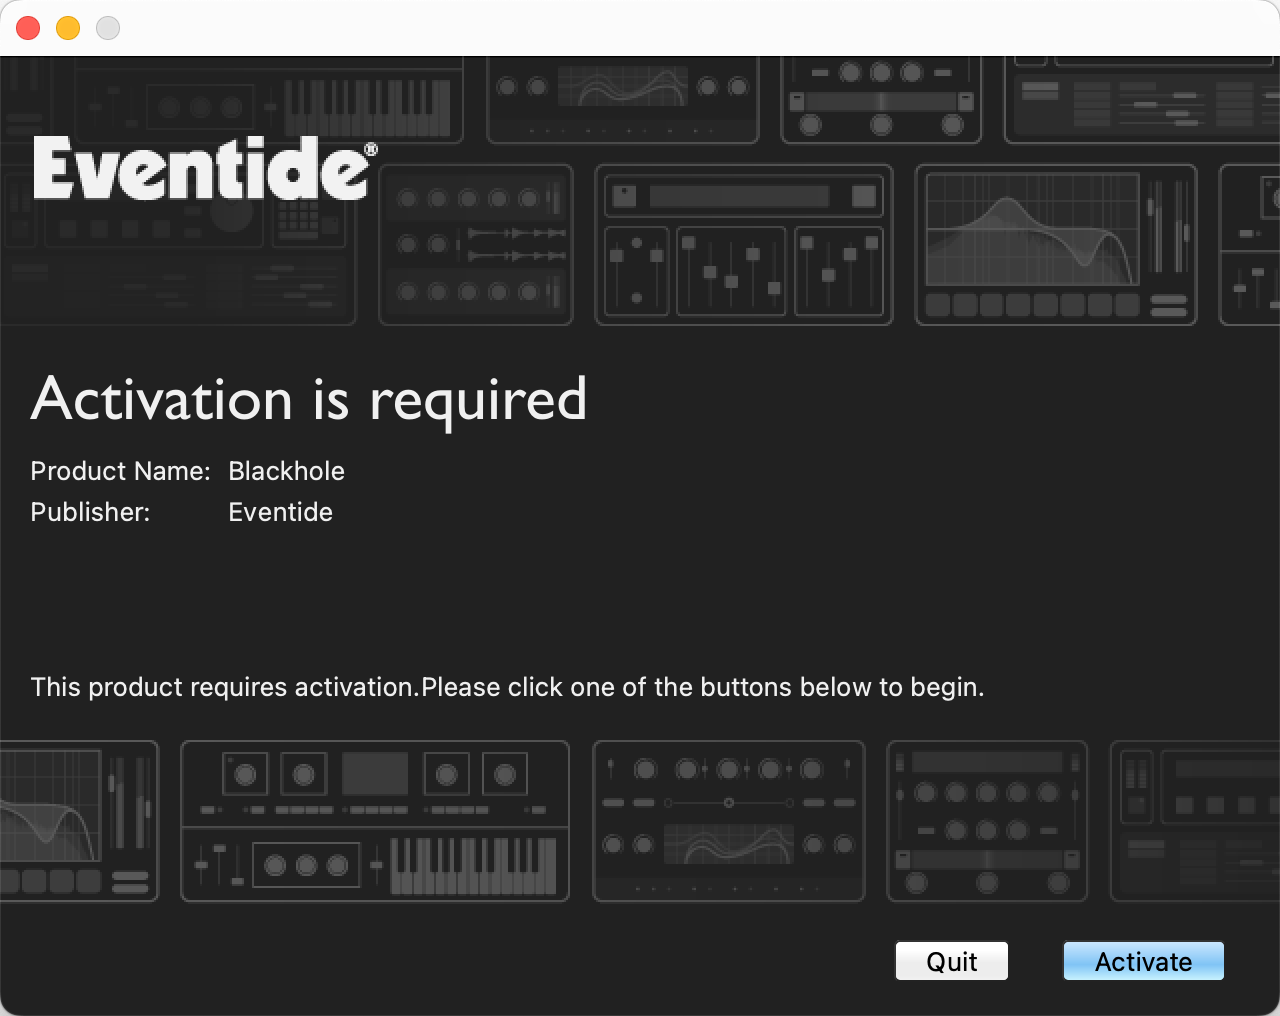
Installing & Authorizing Plug-ins
Navigate to “My Account” → “Register Products” to register the plug-in.
Your License Key will be 3 sets of 4 or 5 alphanumeric characters, like A1B2-C3D4-E5F6. It can be found in your License Key email or via the order confirmation page.
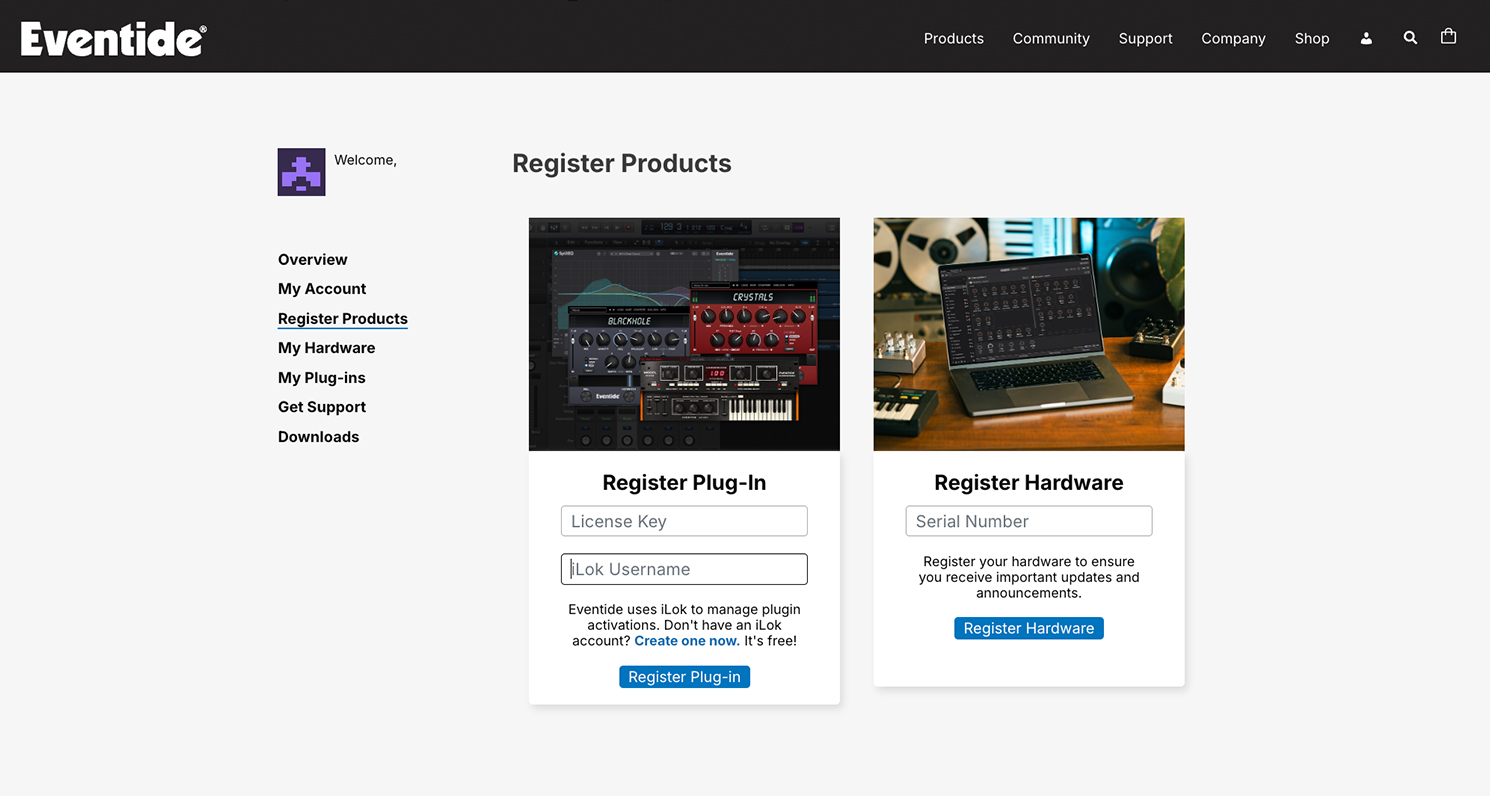
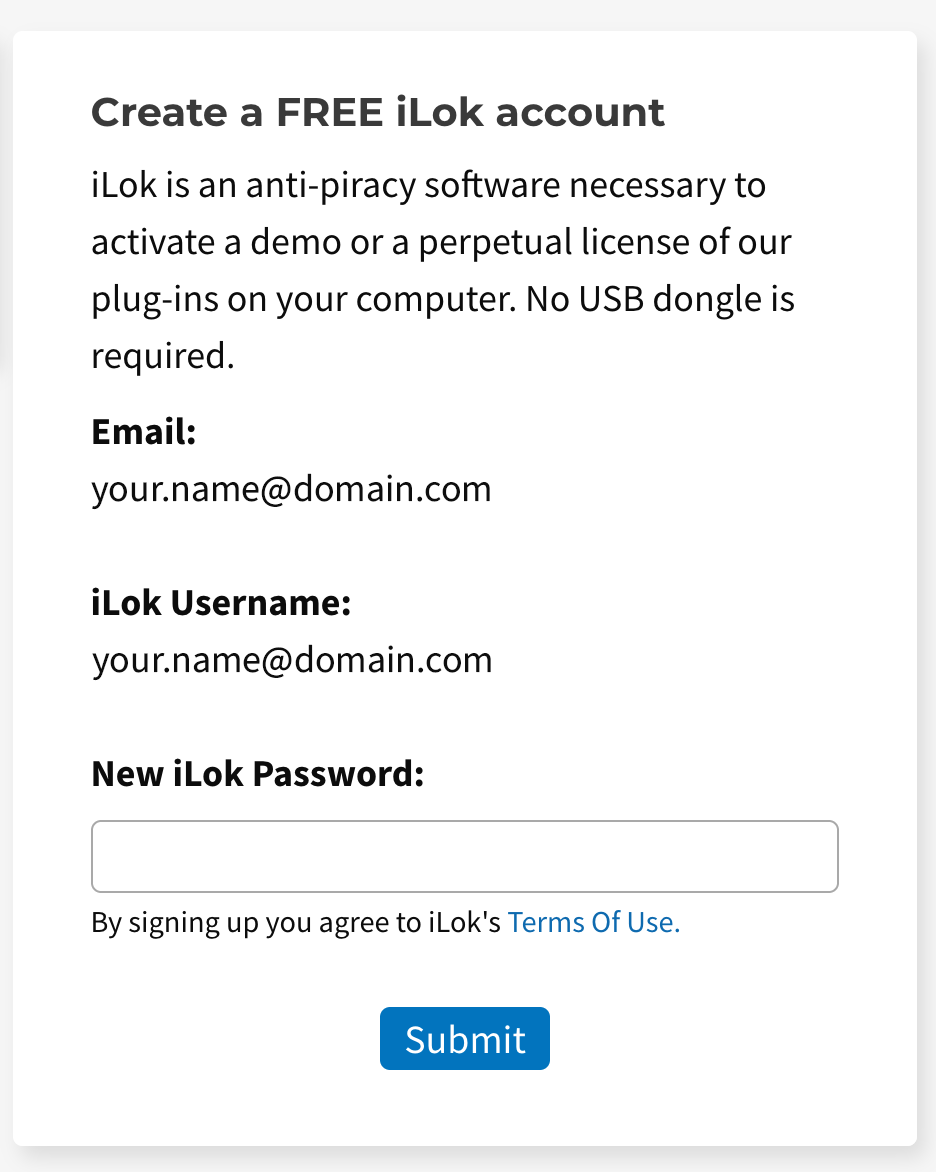
If you do not already have an iLok account, you can create one directly on the product registration page.
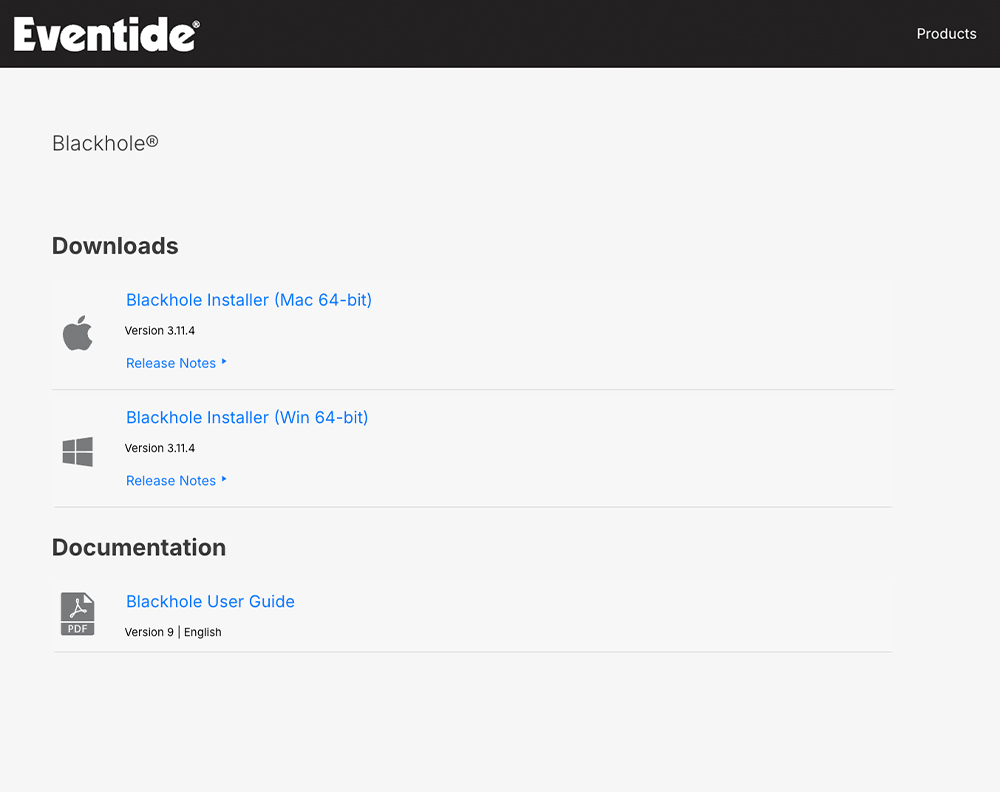
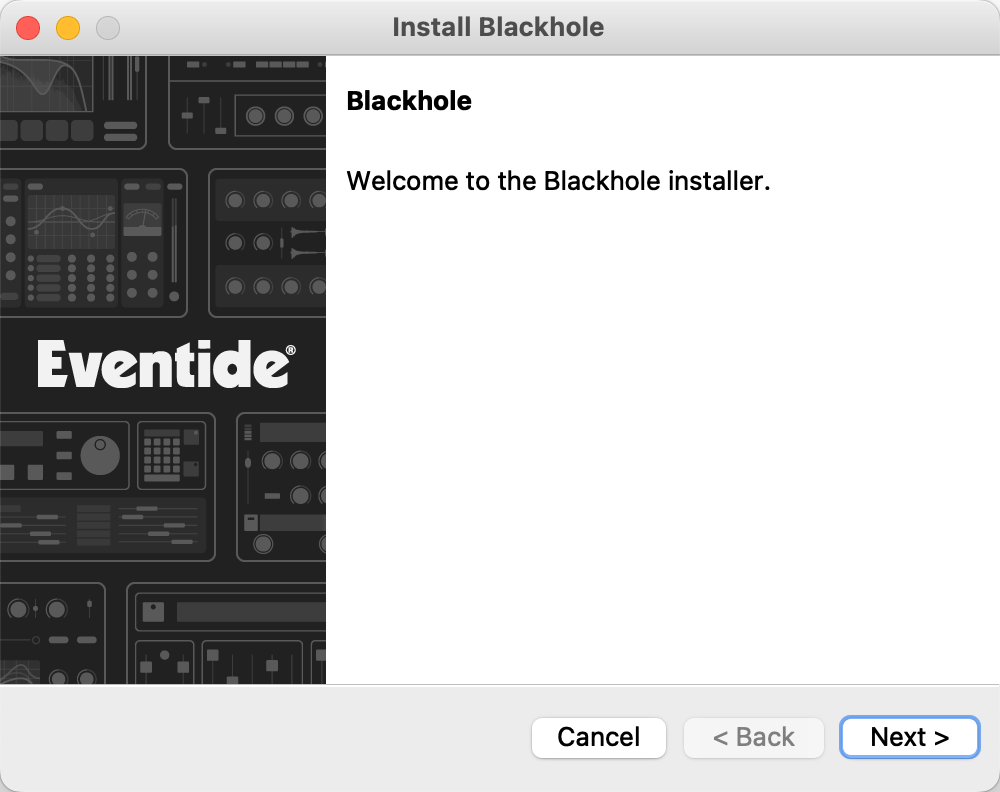
Download and install your plug-in.
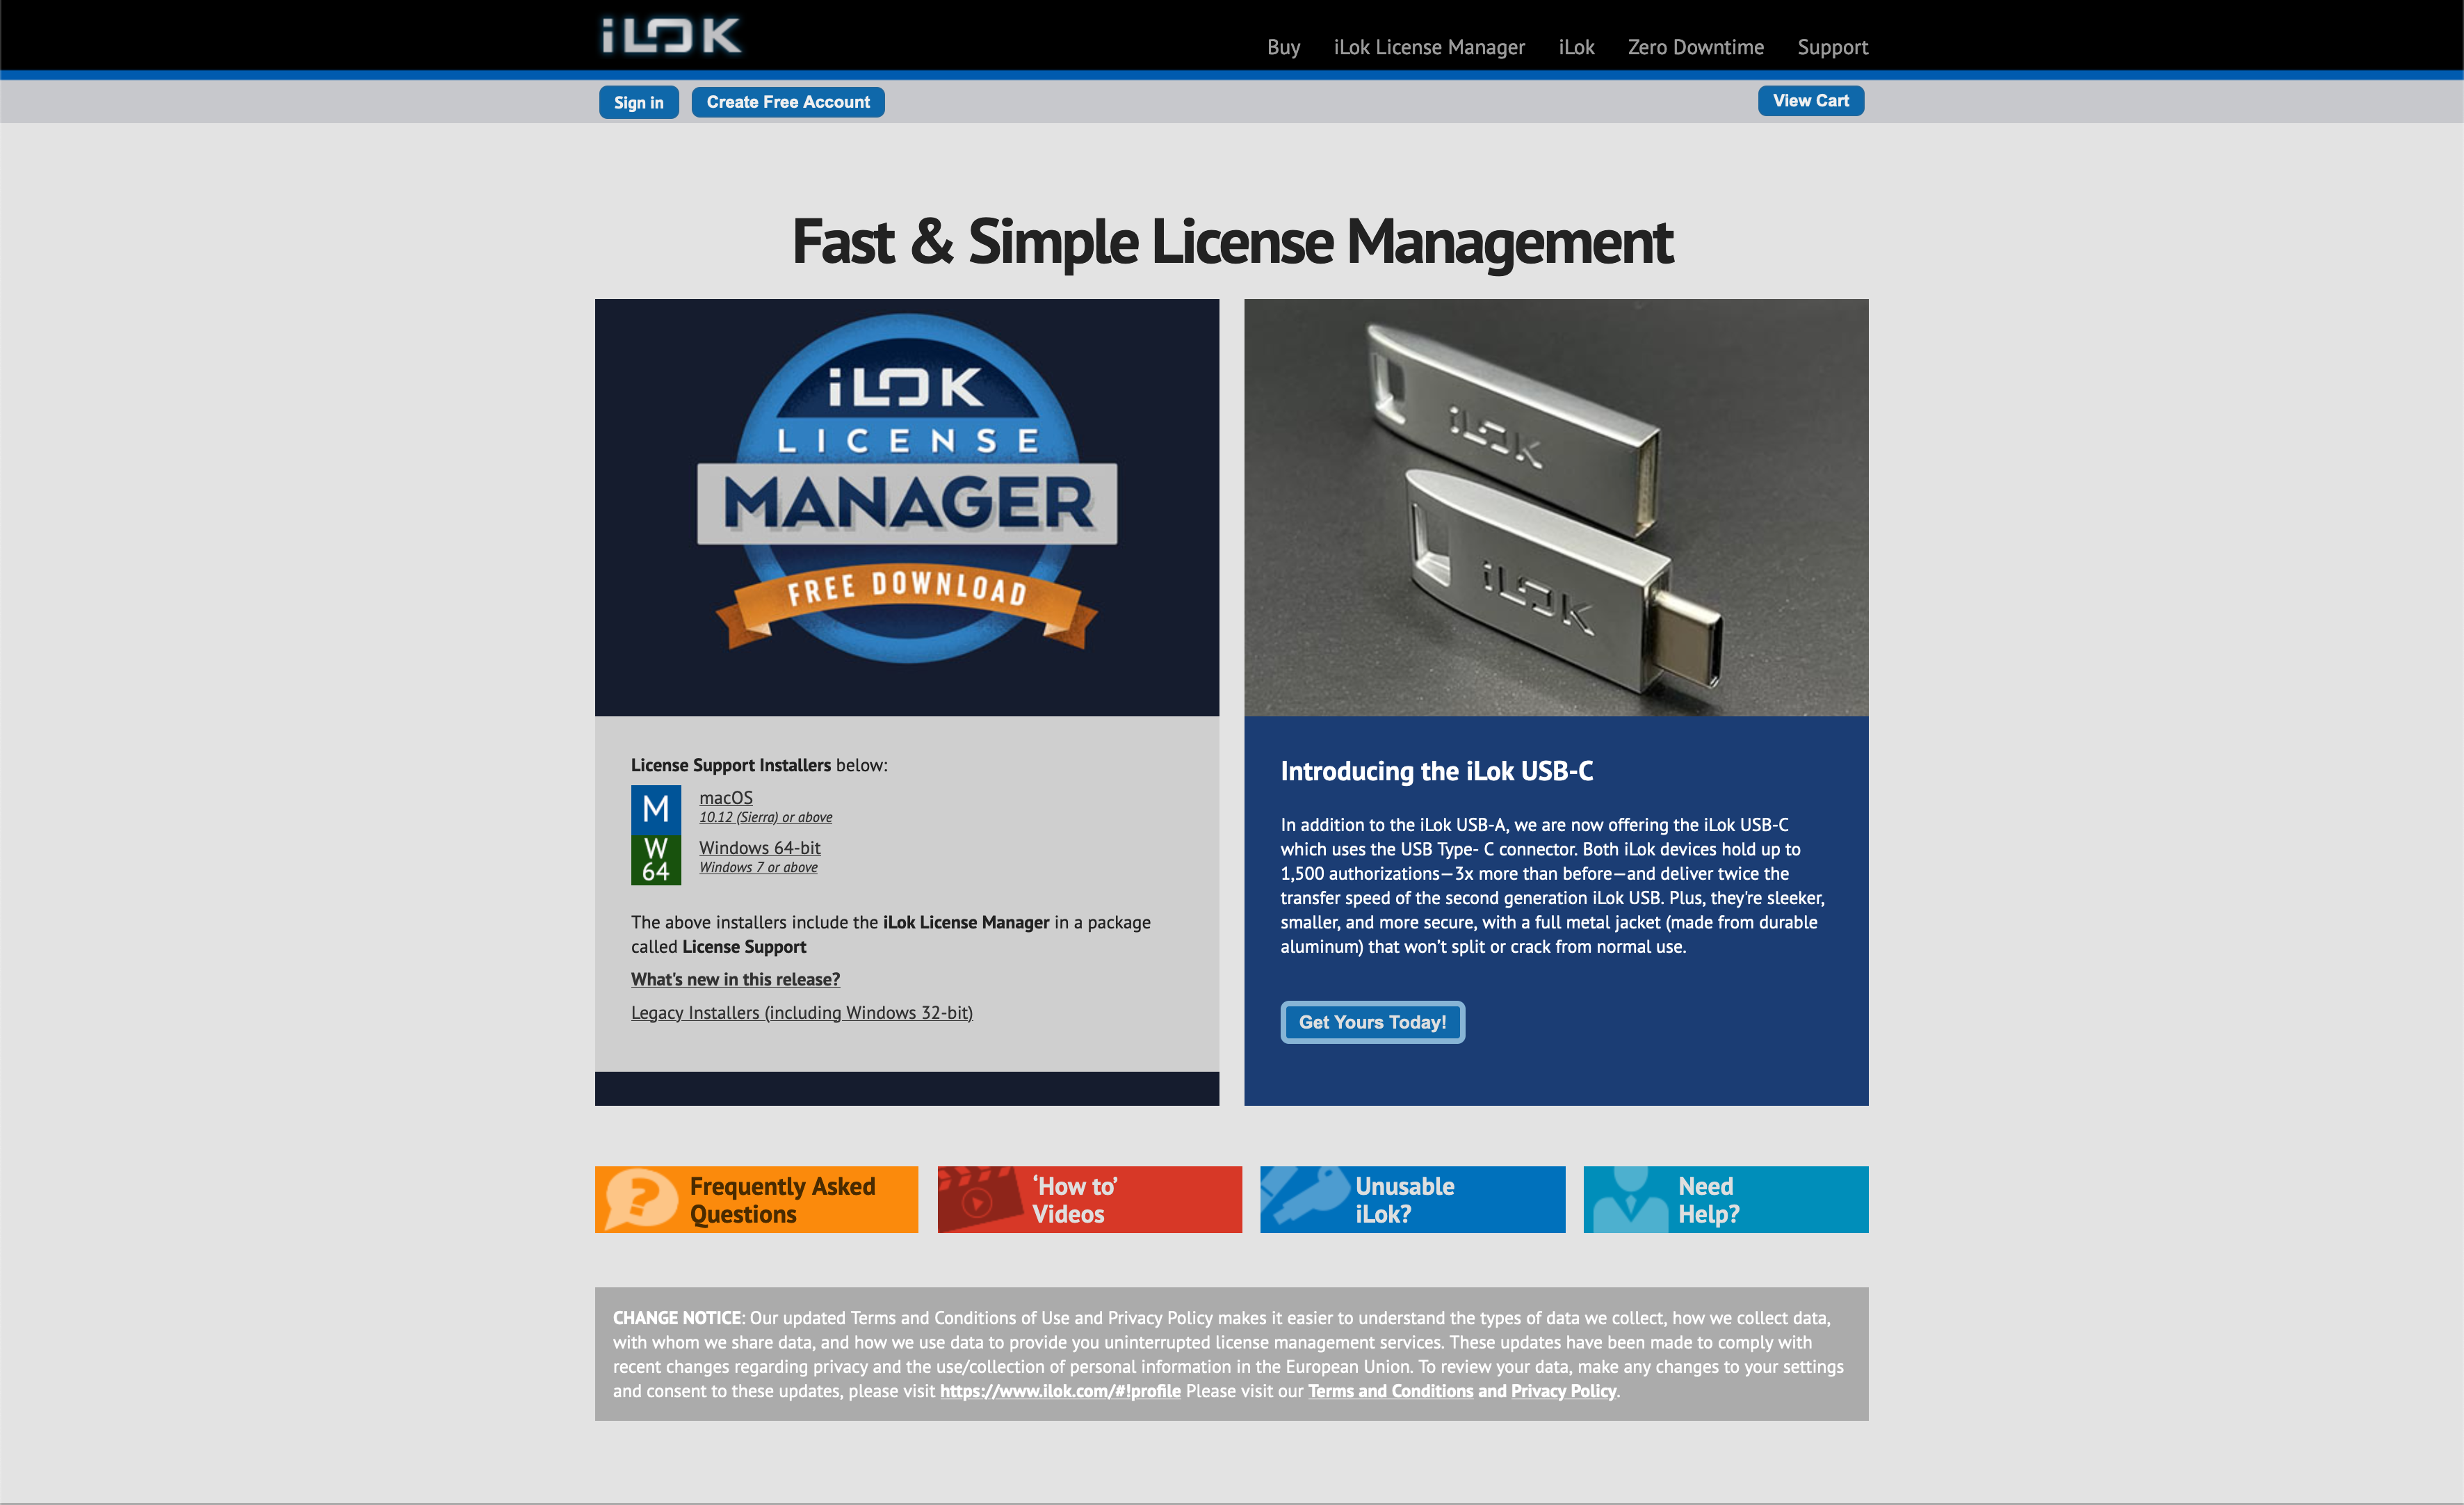
Note: If you are installing a Newfangled Audio plug-in, you must also download and install iLok License Manager from ilok.com.
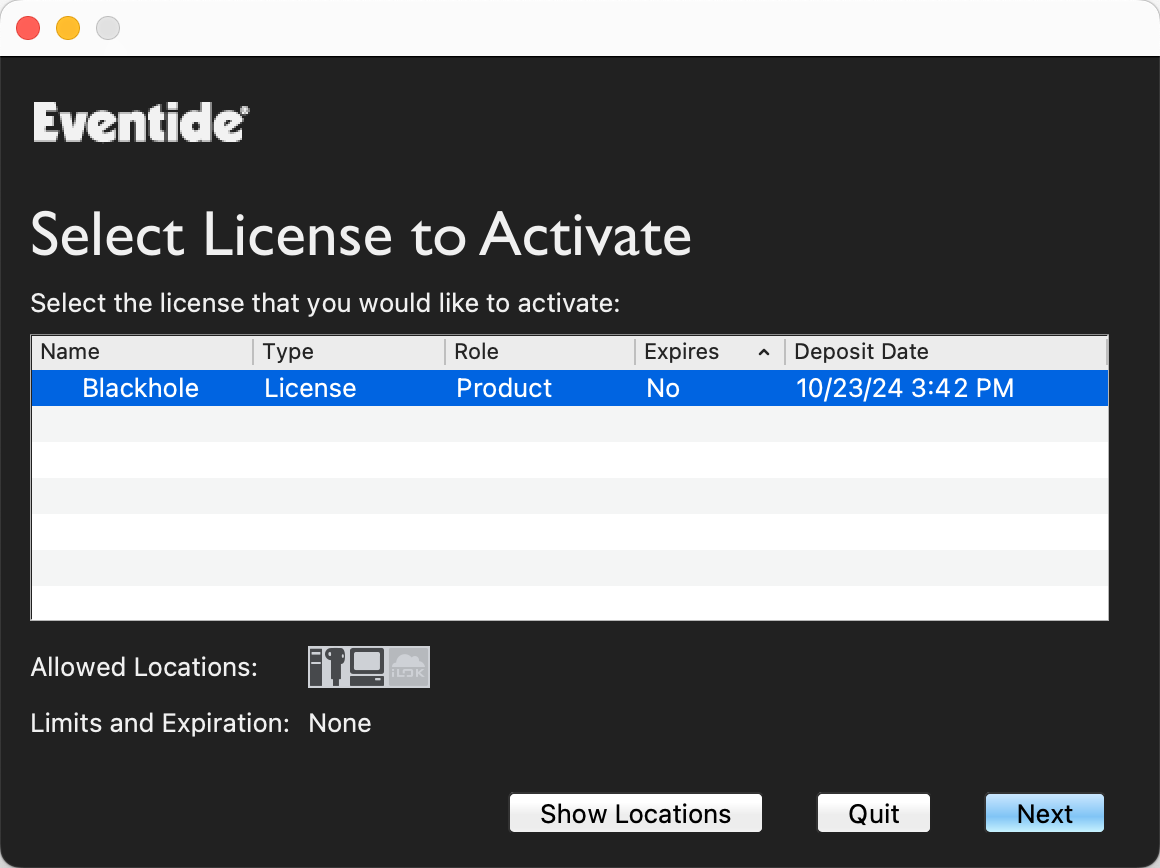
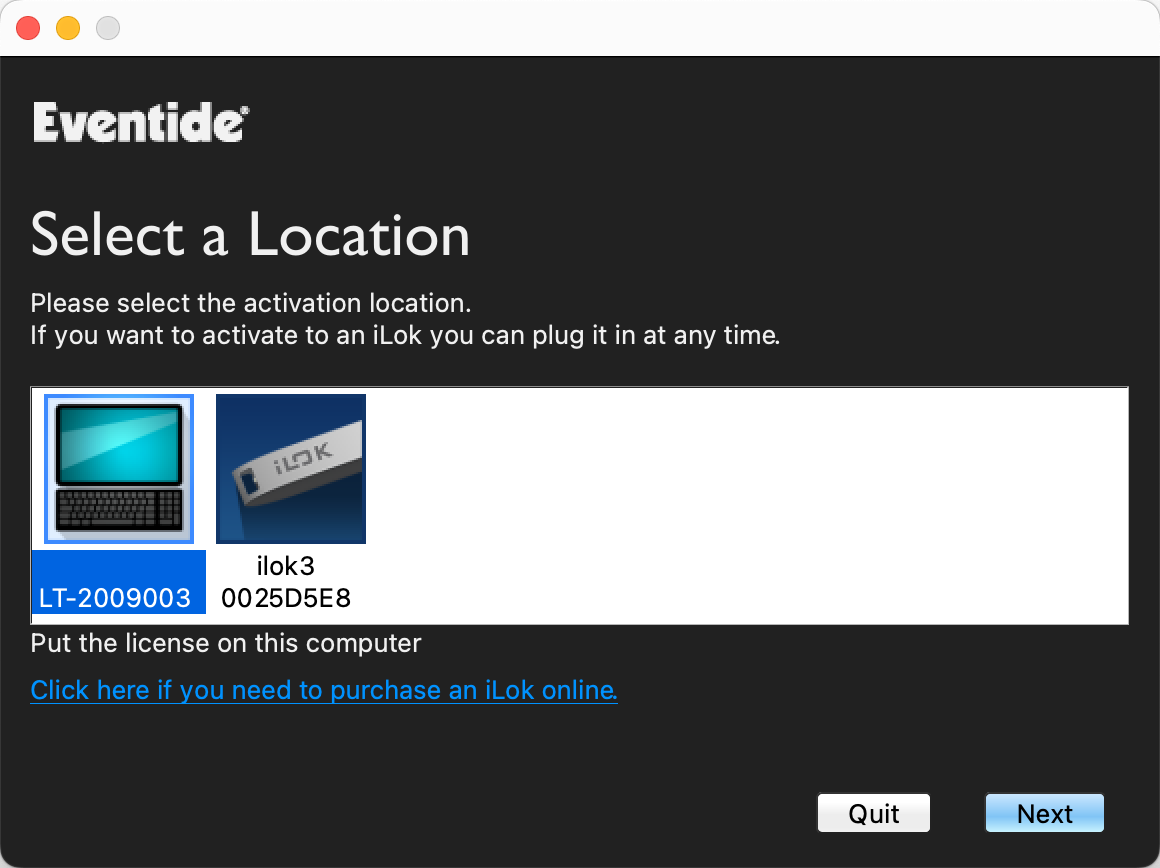
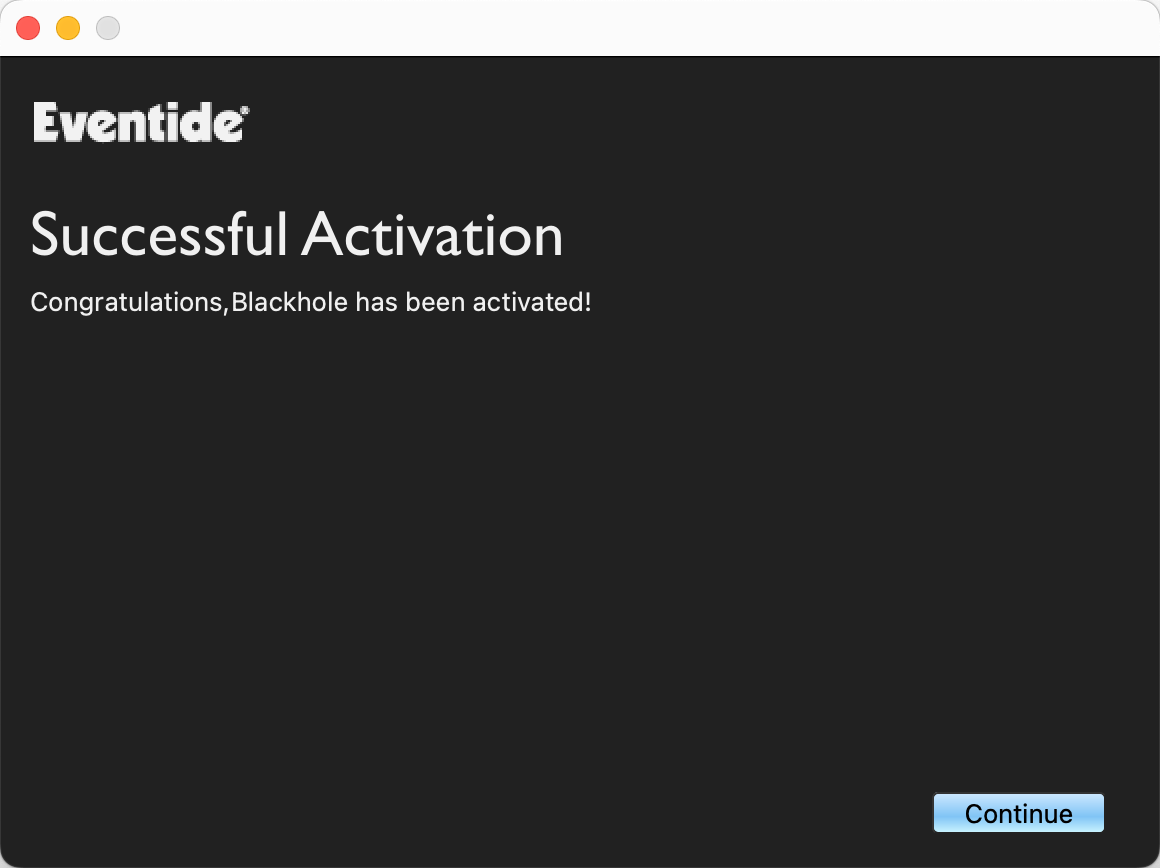
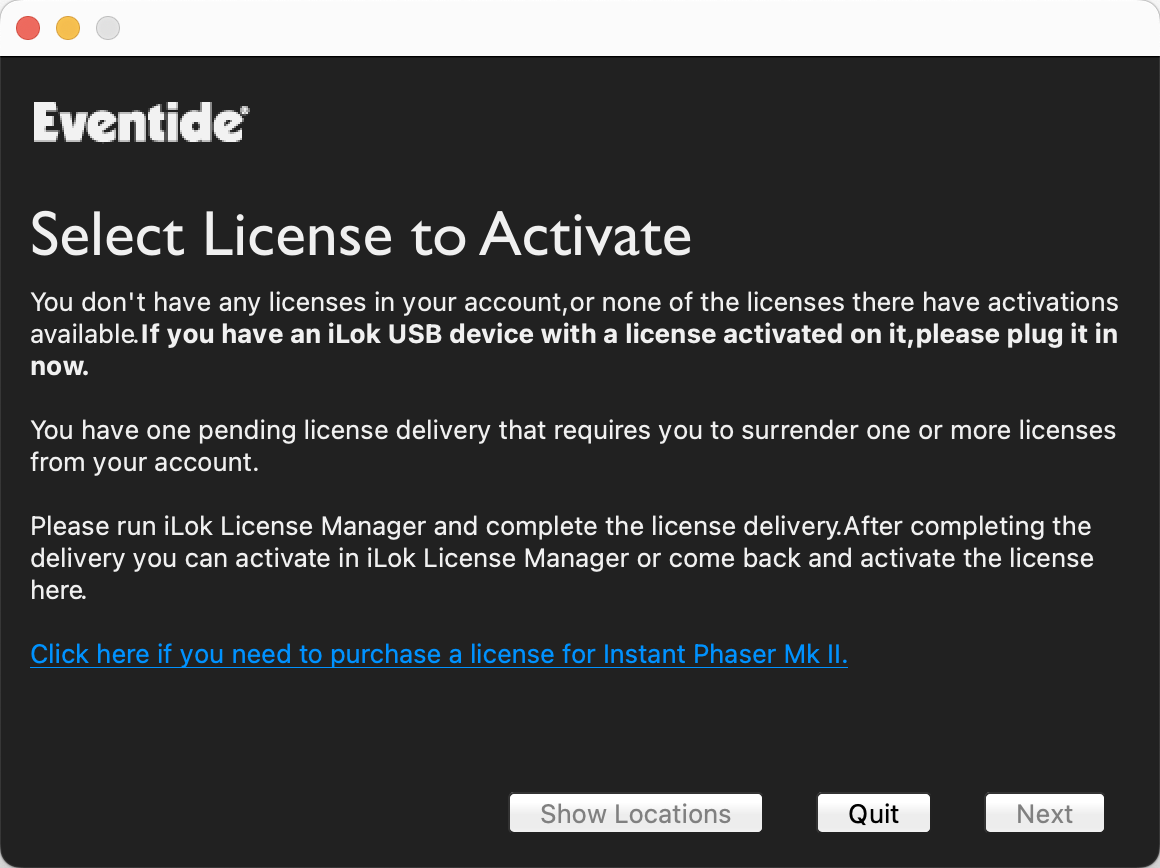
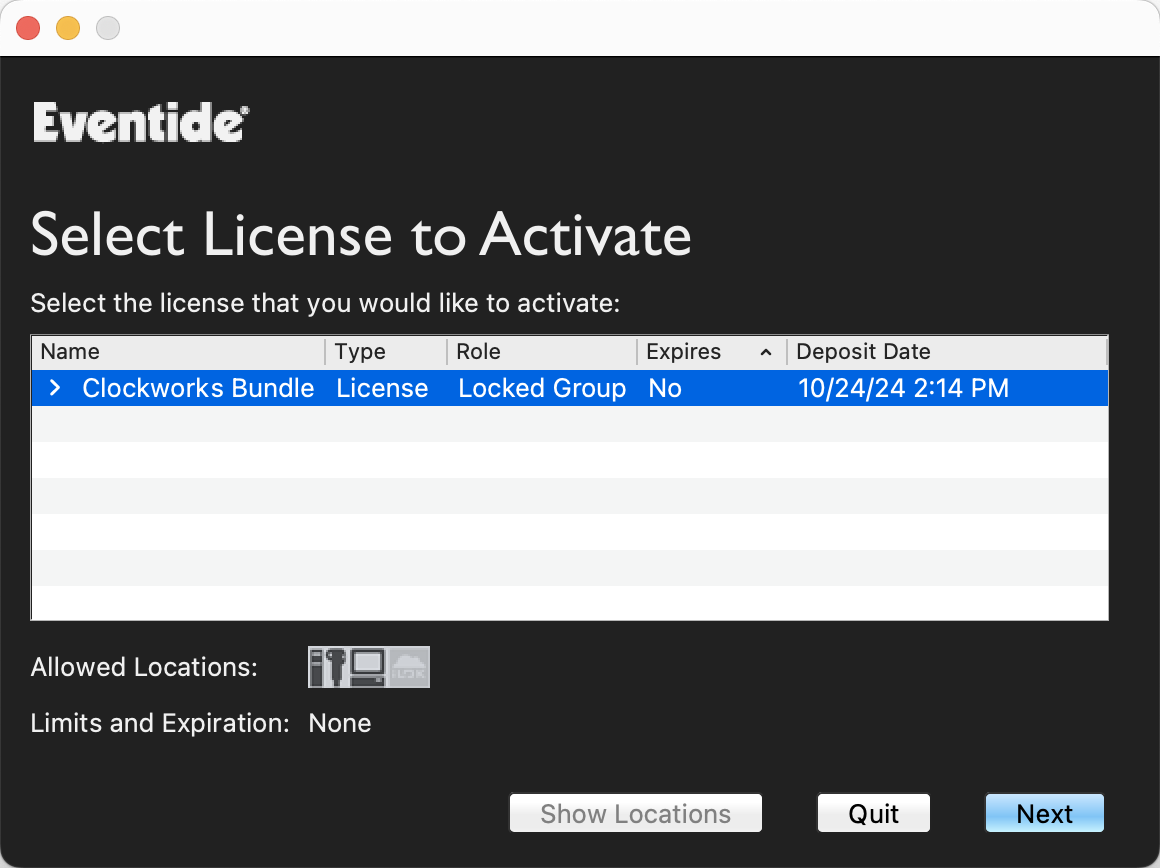
Launch your DAW and activate your plug-in.
Follow the activation prompts that appear when your DAW scans your plug-in or when you first open your plug-in. You’ll need to enter your iLok username and password.

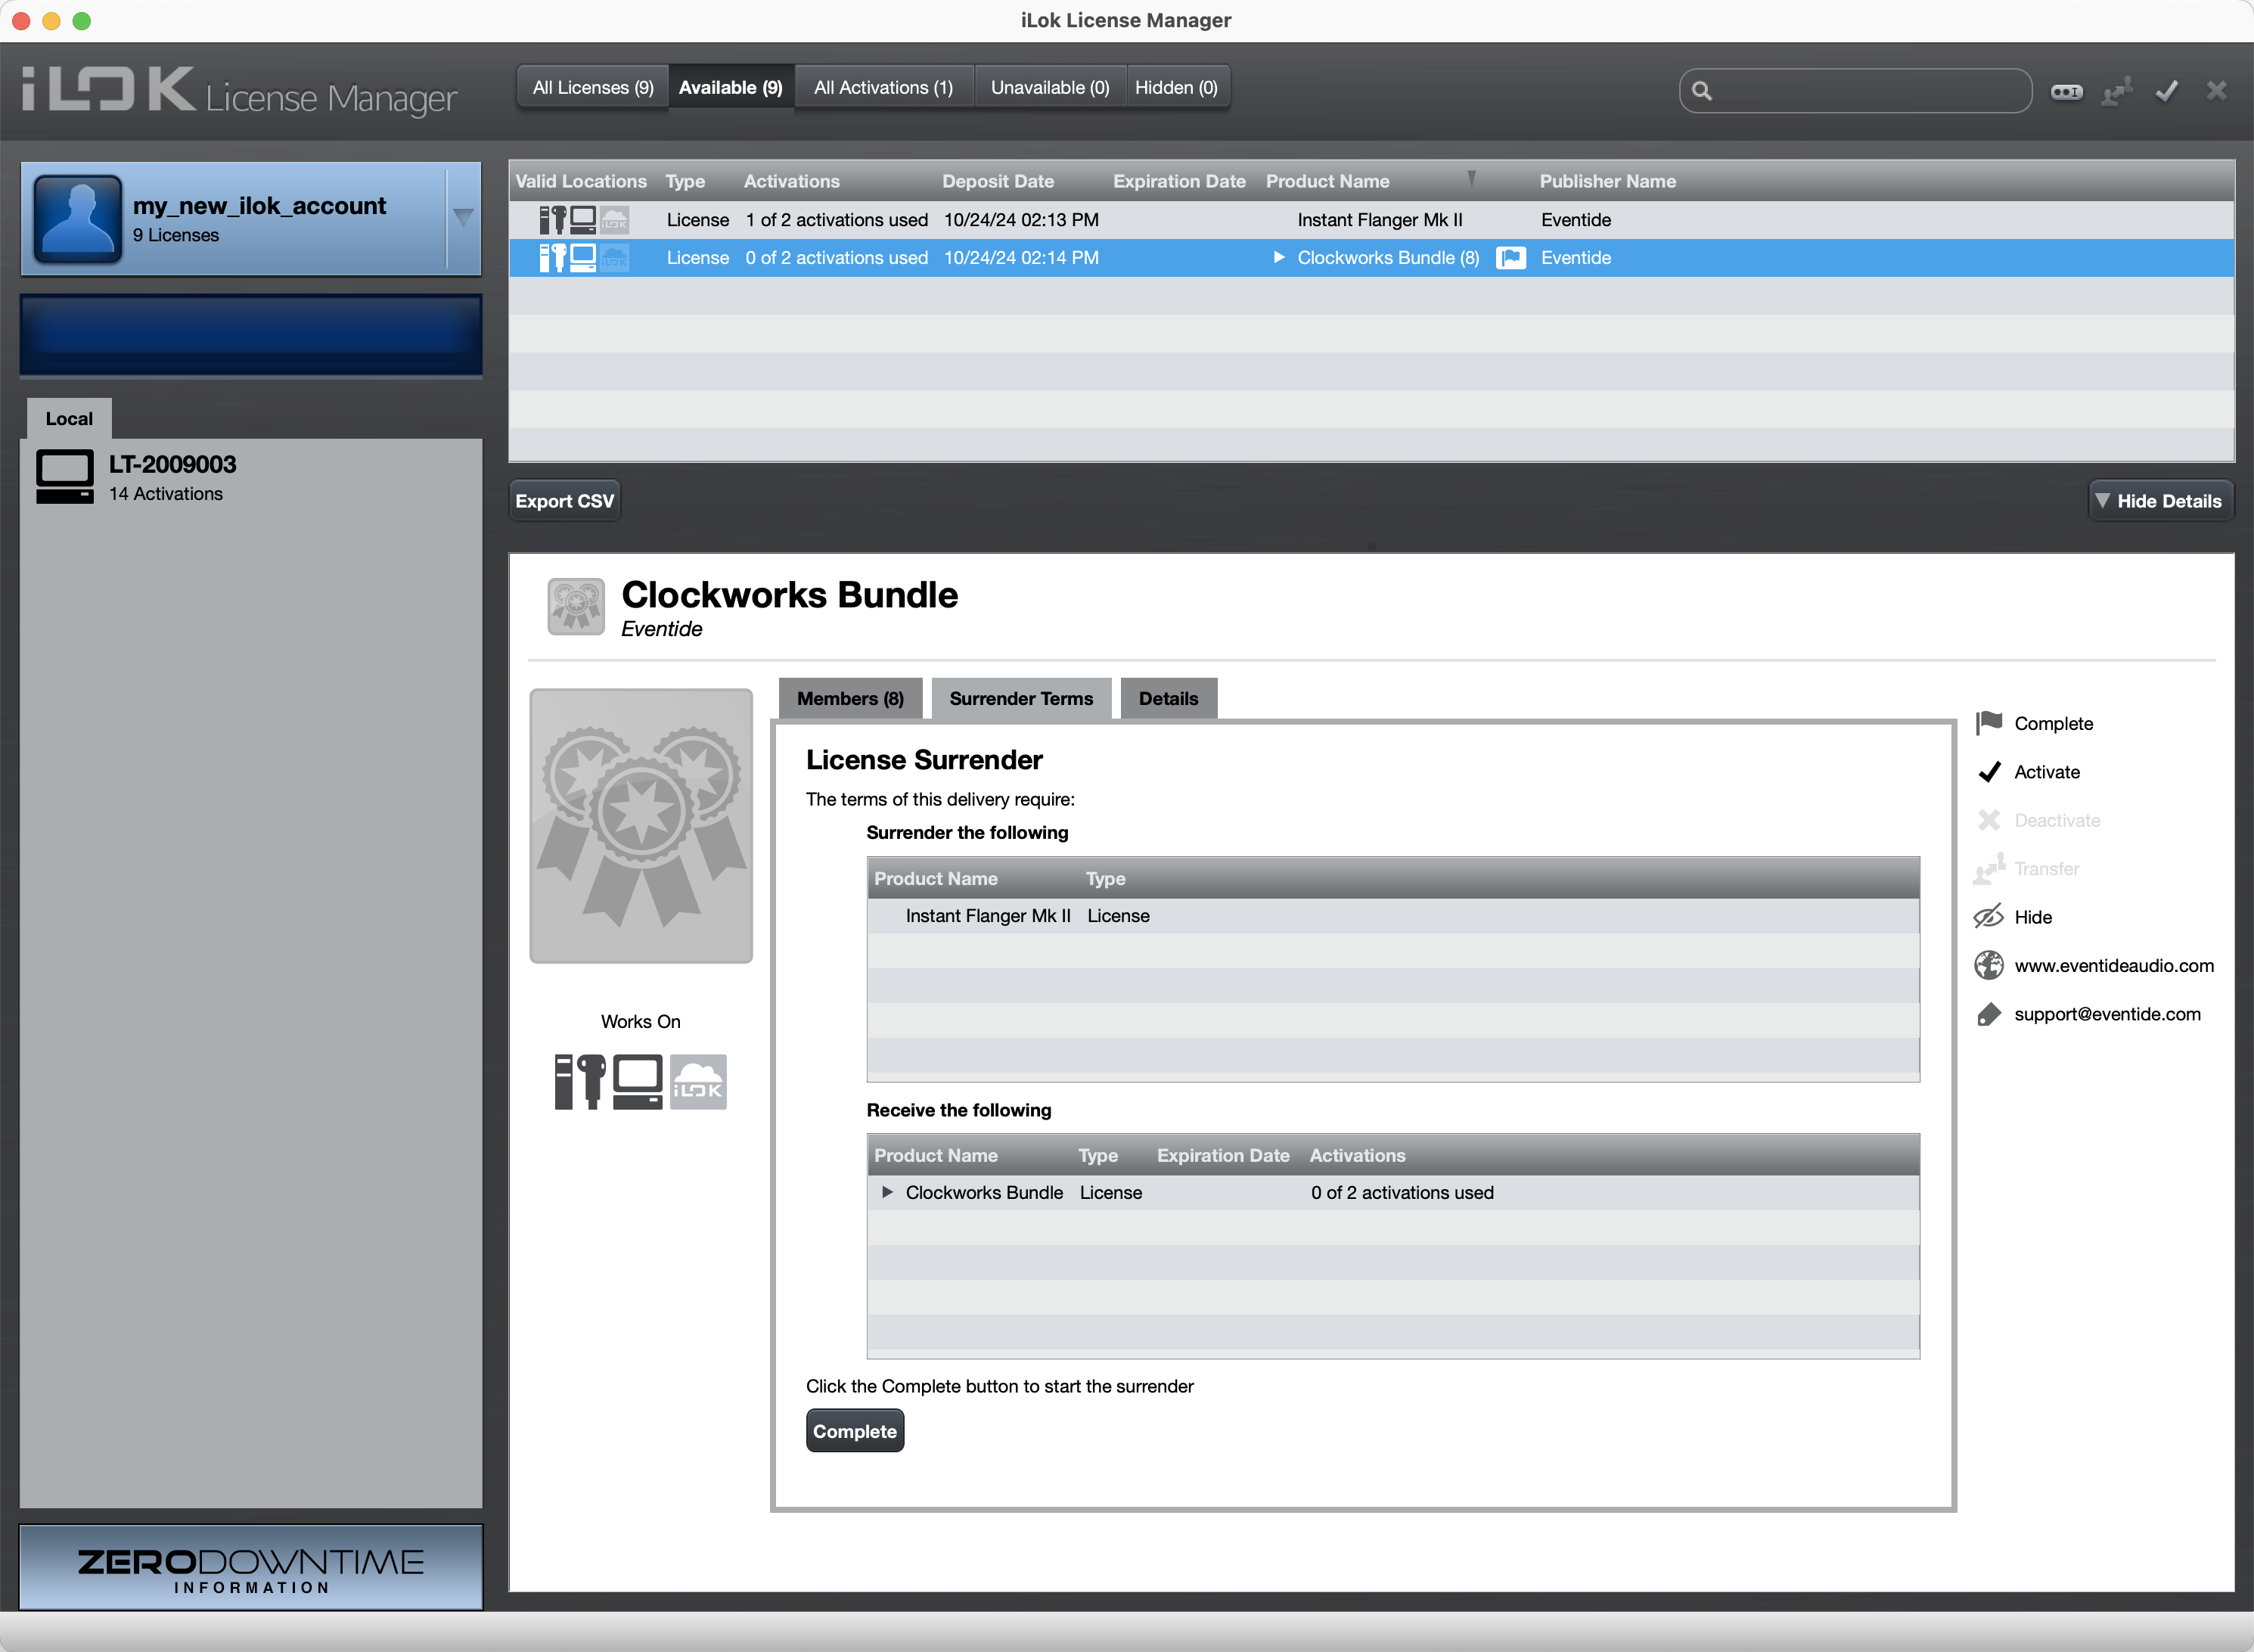
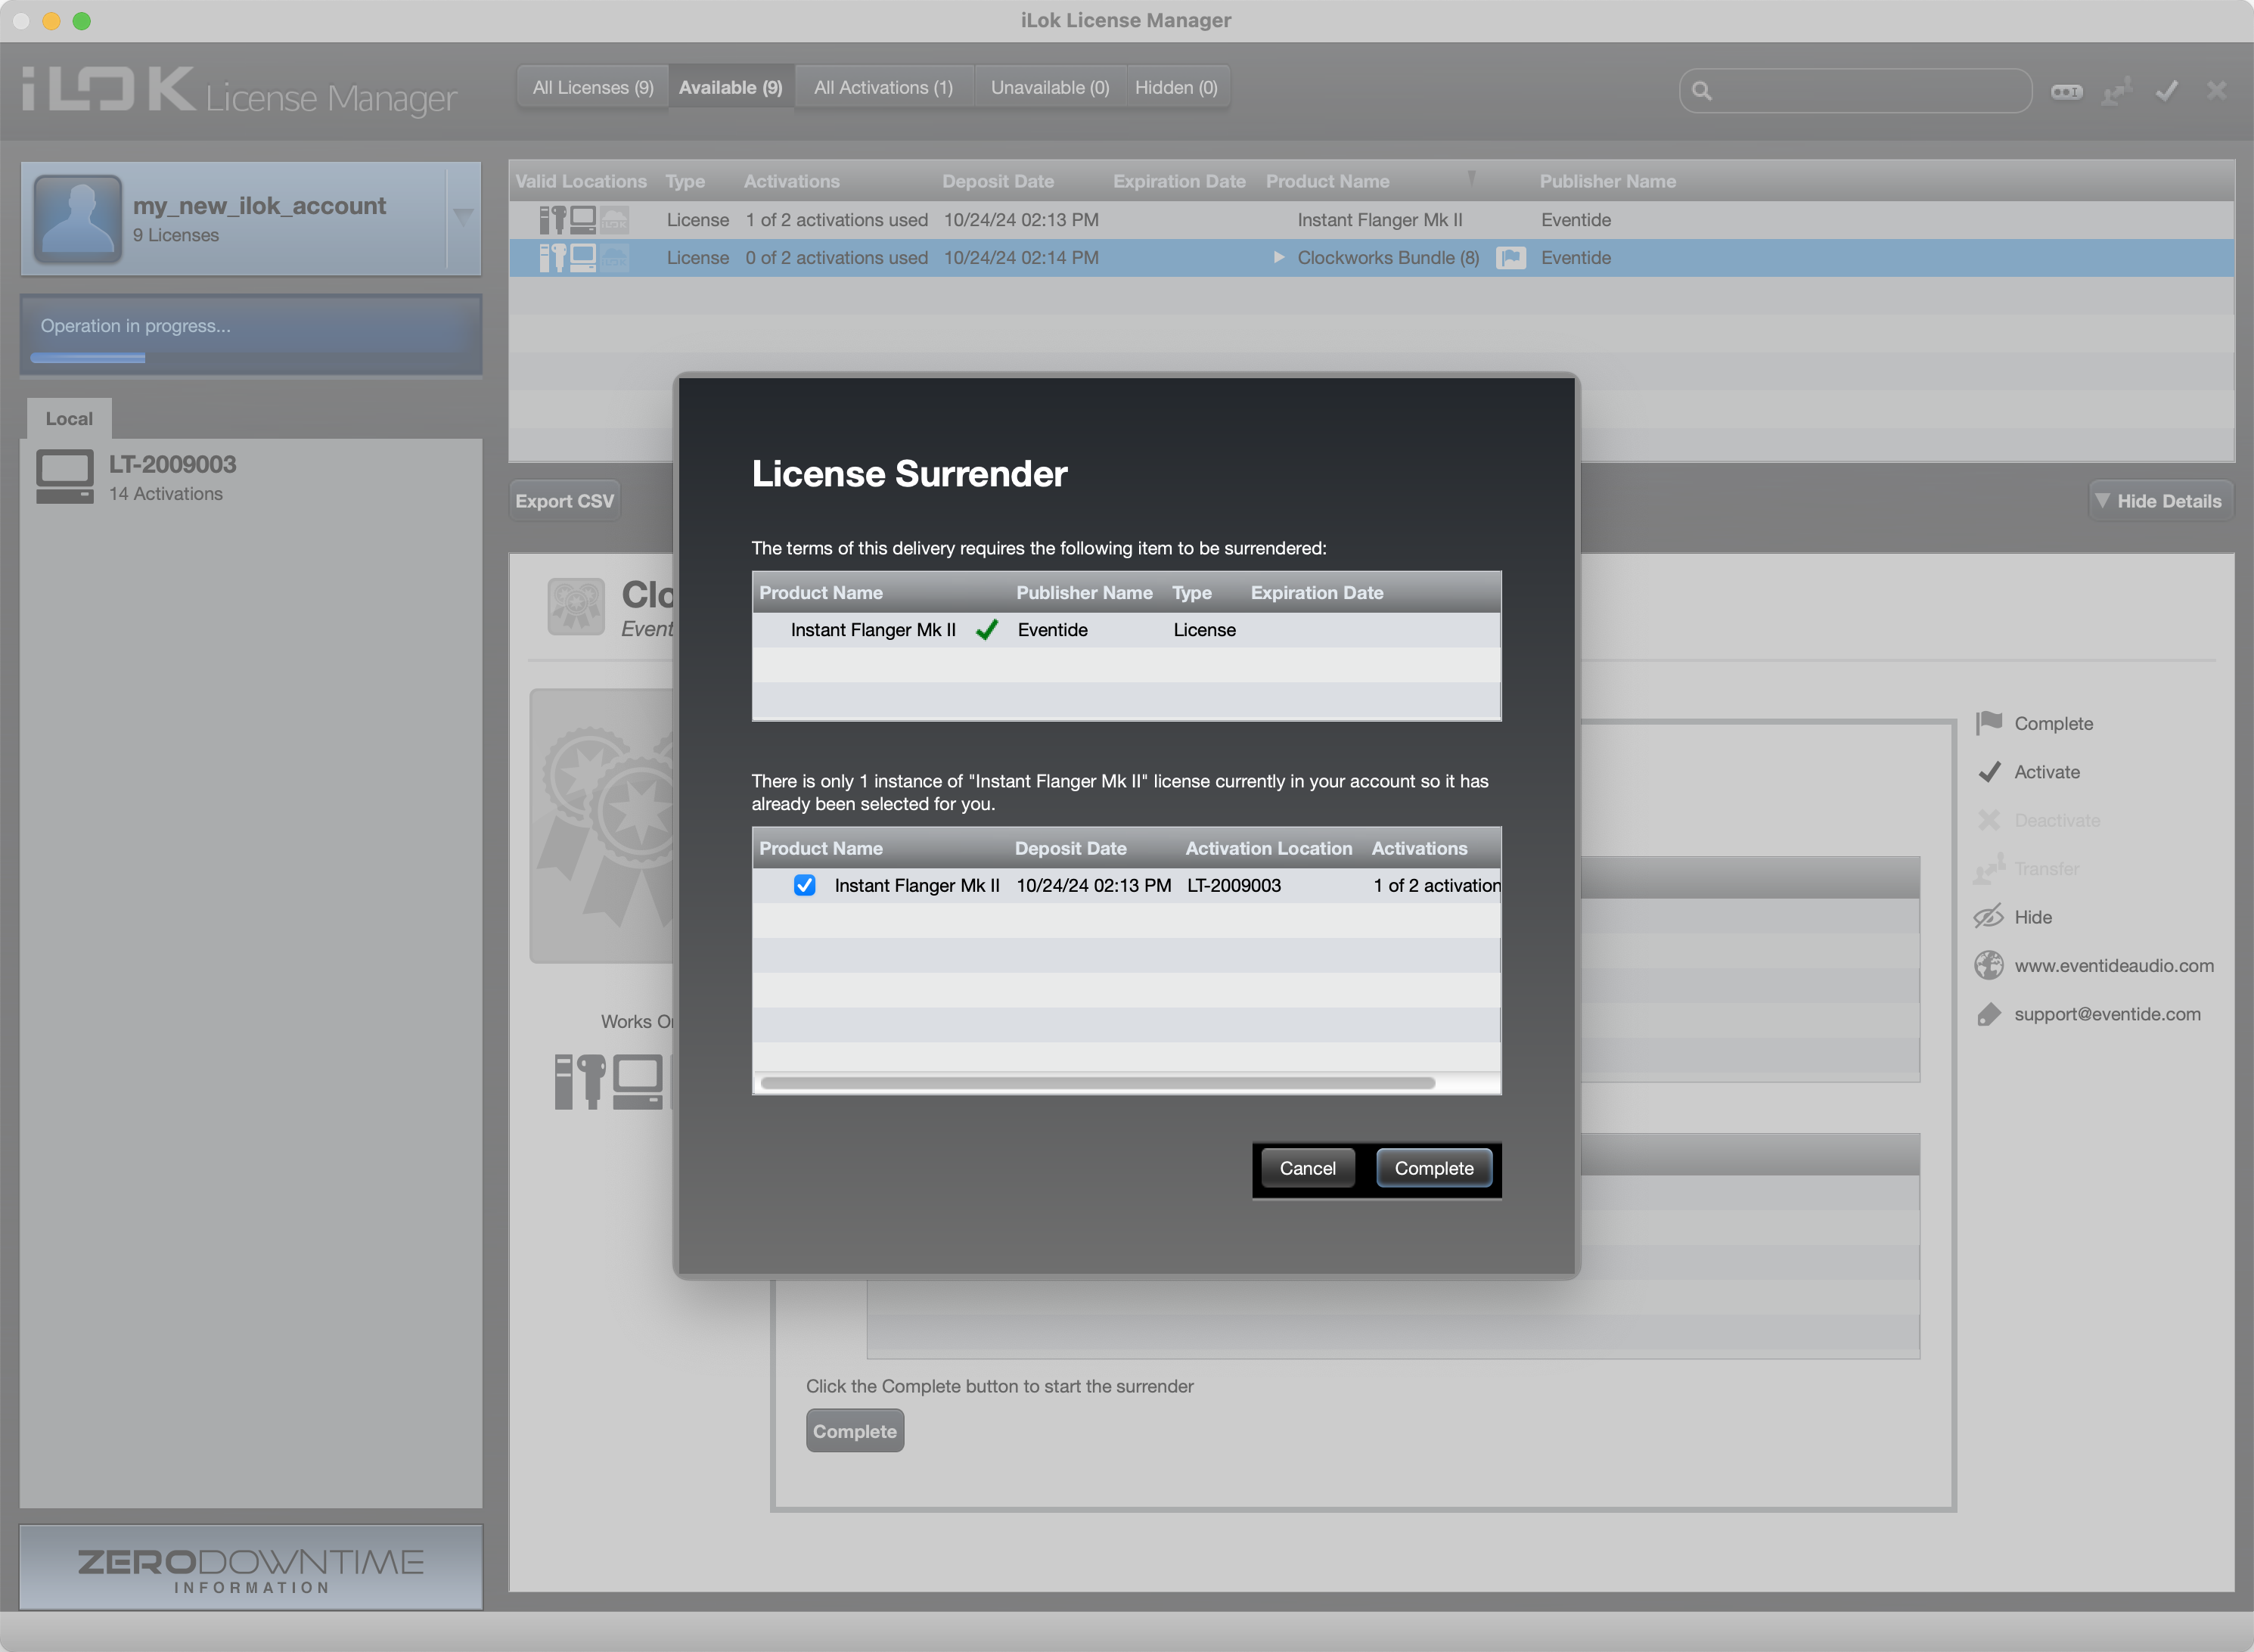
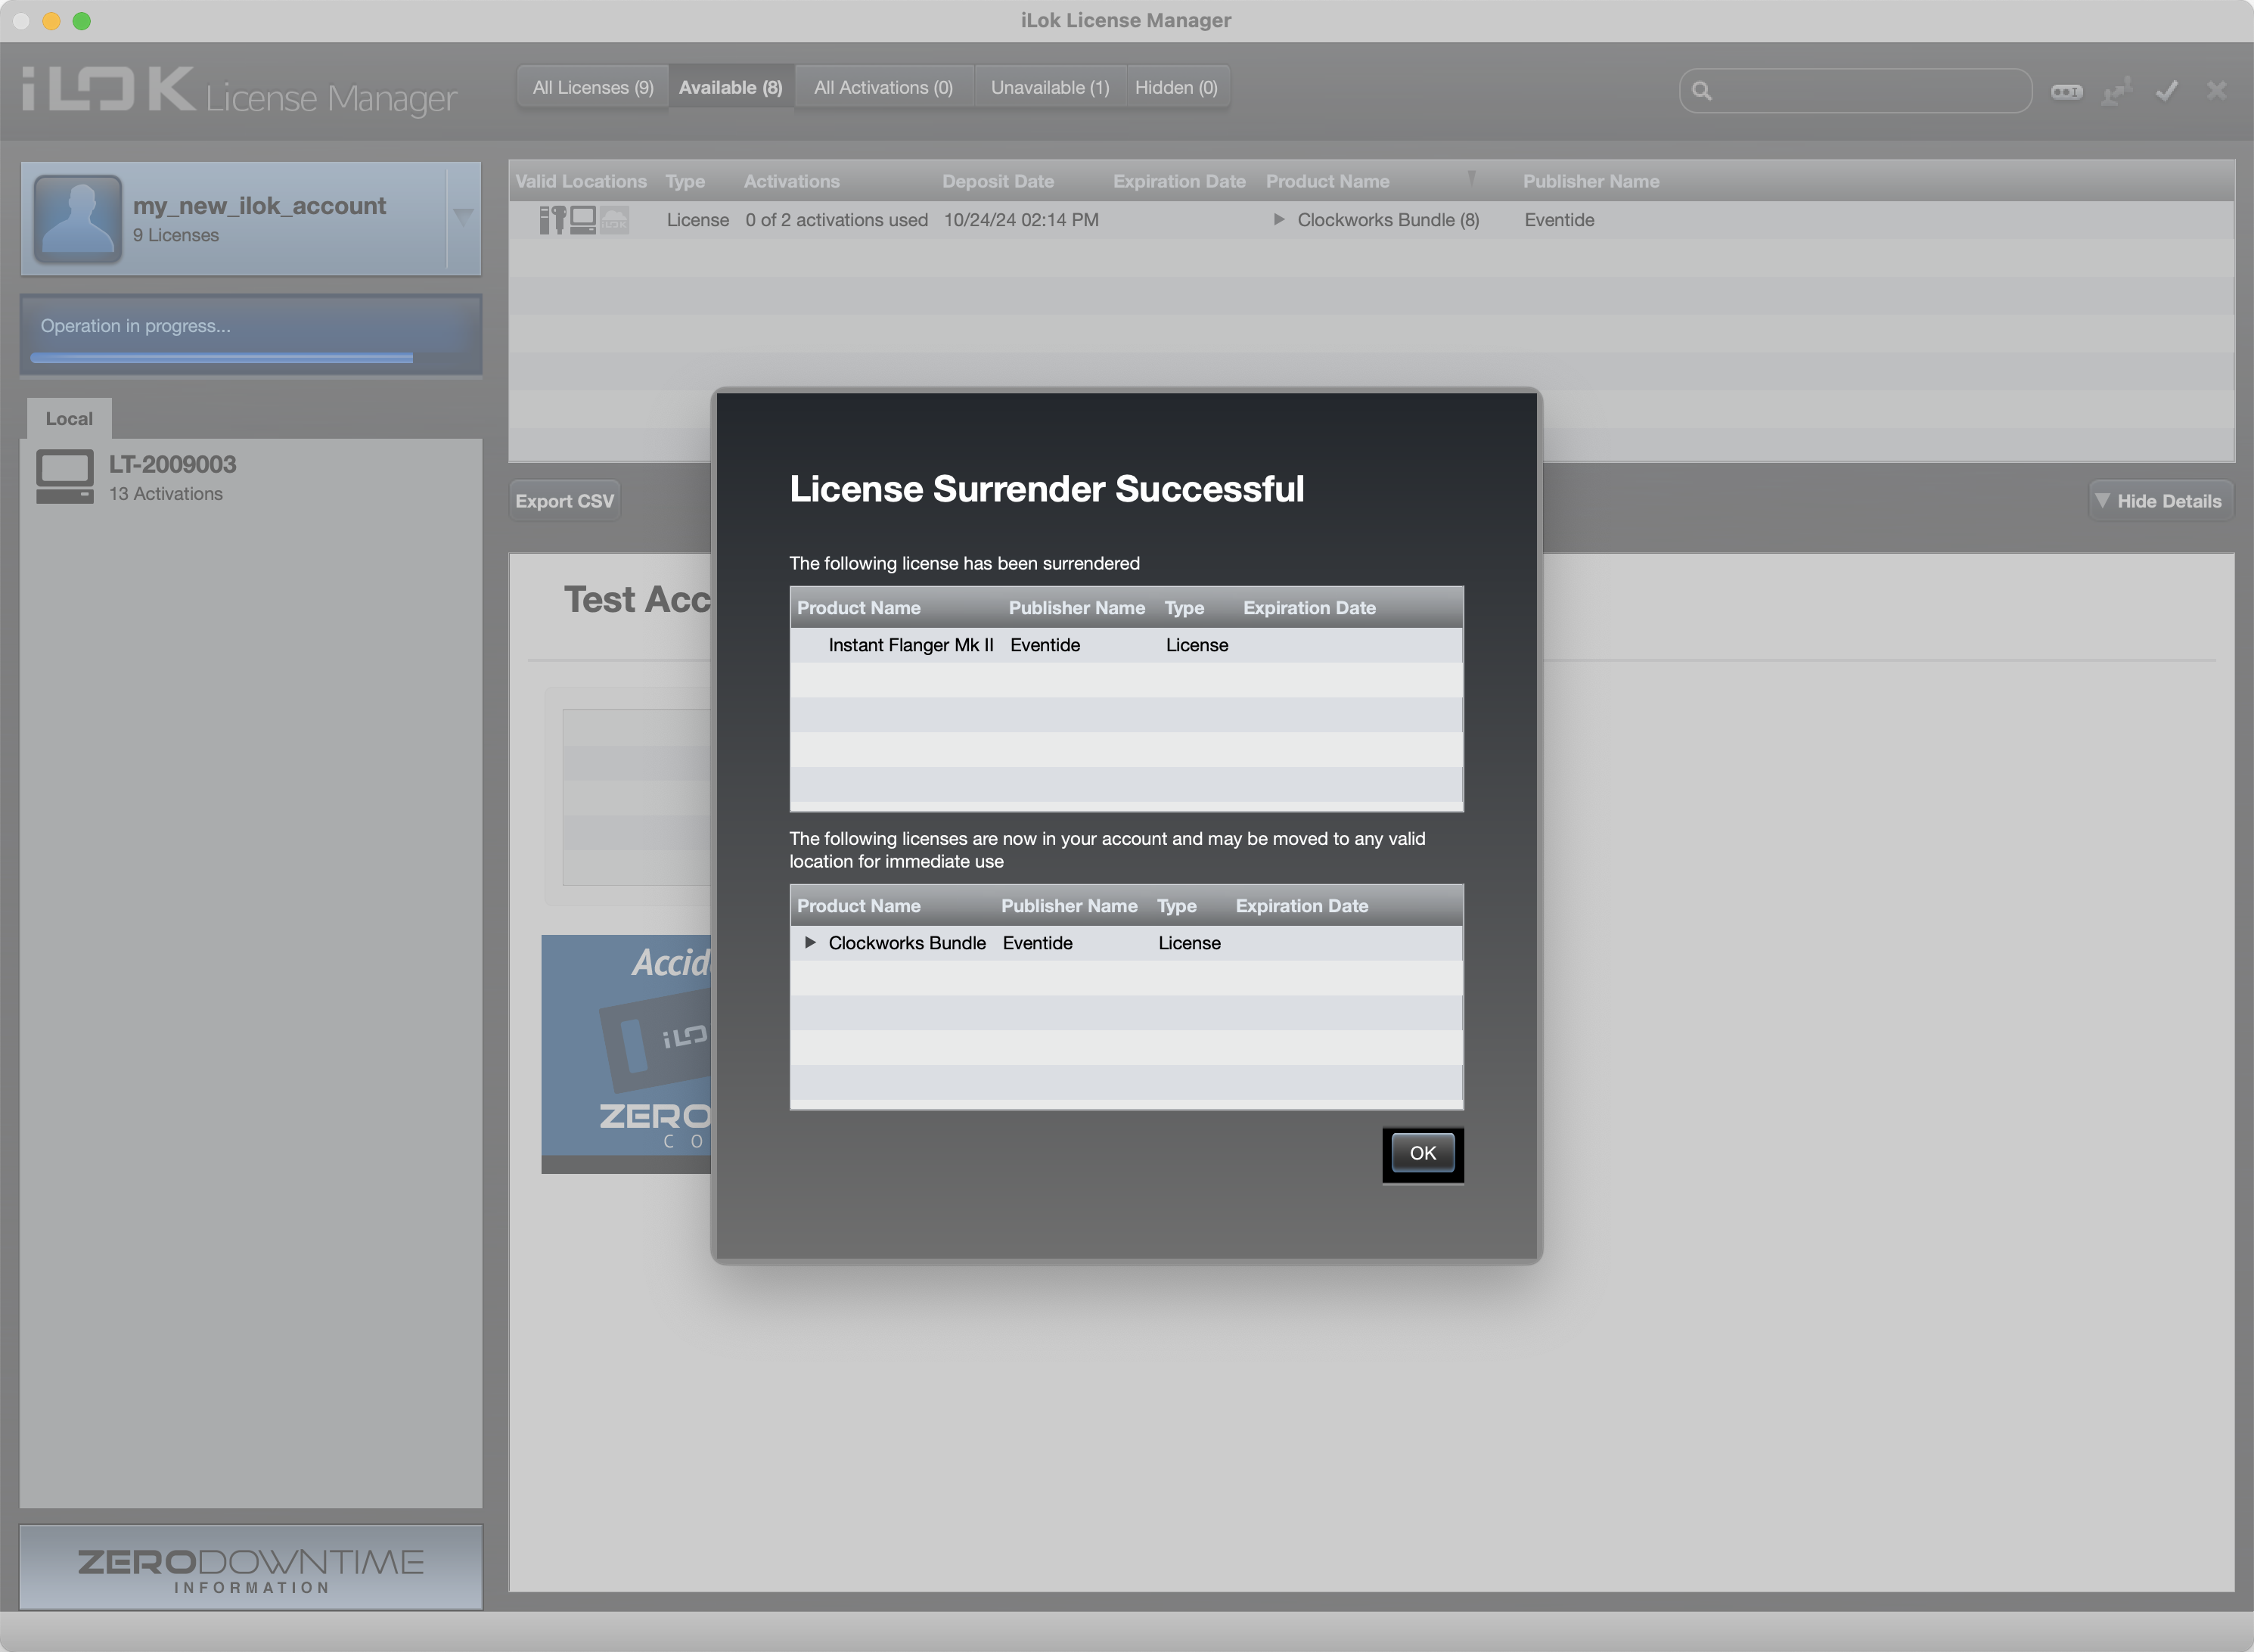
If you purchased an upgrade, you will see a message notifying you that there are no licenses in your account. Not to worry — follow the on-screen instructions, open iLok License Manager, surrender the necessary licenses, and then either activate within iLok License Manager or return to the activation prompt to finish activation.
Troubleshooting
macOS: Go to your DAW’s preferences and rescan your plug-ins.
Windows: Go to your DAW’s preferences and rescan your plug-ins.
Double-check your License Key format (A1B2-C3D4-E5F6). Make sure there are no spaces before or after the license key. If the key is correct, contact support.
Check that your license is visible in your iLok account. If you purchased an upgrade, you may need to surrender previous licenses in iLok License Manager.
DAW-Specific Steps:
Occasionally, certain DAWs may require a full or deep rescan for the plug-in to show up.
Live 9 and below:
Go to Preferences → File Folder and Option/Alt-click “Rescan Plug-ins” to force a deep rescan.
Live 10+:
Go to Preferences → Plug-ins and Option/Alt-click “Rescan” to force a deep rescan.
- Launch Logic Pro
- Go to Preferences → Plug-in Manager and check if the plug-in is listed
- Highlight the plug-in and select “Reset and Rescan Selection”
If the plug-in passes validation but still does not show in the Insert menus, try the following steps:
- Close Logic Pro
- Make sure Finder is the active application
- While holding the Option key, click the Go menu and select Library
-
Delete the following files from your User Library (if present):
- ~/Library/Caches/com.apple.audiounits.cache
- ~/Library/Preferences/com.apple.audio.InfoHelper.plist
- ~/Library/Preferences/com.apple.audio.SandboxHelper.plist
-
Open Terminal (/Applications/Utilities/Terminal) and run:
- killall -9 cfprefsd
- killall -9 AudioComponentRegistrar
- Restart your computer
- Relaunch Logic Pro
Note: Cubase will not display the VST2 version of a plug-in if the VST3 version is installed. To use VST2, uninstall the VST3 version.
- Open the VST Plug-in Manager and click Rescan all next to the search box
- Windows-only: If plug-ins still don’t show or crash, try:
- Go to Start Menu → type “Cubase” → right-click and choose “Run as Administrator”
- Go to Preferences → Plug-ins → VST and select “Rescan” → “Clear cache and re-scan paths for all VST plug-ins”
- Windows-only: If issues persist, try launching Reaper as Administrator:
- Right-click the Reaper icon and choose “Run as Administrator”
- Quit GarageBand
- Make sure Finder is the active application
- While holding the Option key, click the Go menu and select Library
-
Delete the following files from your User Library (if present):
- ~/Library/Caches/com.apple.audiounits.cache
- ~/Library/Caches/AudioUnitCache/
- ~/Library/Preferences/com.apple.audio.InfoHelper.plist
- ~/Library/Preferences/com.apple.audio.SandboxHelper.plist
-
Open Terminal (/Applications/Utilities/Terminal) and run:
- killall -9 cfprefsd
- killall -9 AudioComponentRegistrar
- Restart your computer
- Relaunch GarageBand
Note that Studio One will not display the VST2 version of a plug-in if the VST3 version of the plug-in is installed. If you’d like to use VST2, you must uninstall the VST3 version of your plug-in.
- Open Studio One, go to your VST preferences, and make sure “Scan at Startup” is checked
- Also click “Reset Blacklist” in the VST preferences, and then restart Studio One
- If the above steps don’t work, move the following folder to the Desktop and then reopen Studio One:
- macOS: ~/Library/[username]/Library/Application Support/PreSonus Software/Studio One
/x64 - Windows: C:\Users\[username]\AppData\Roaming\PreSonus\Studio One
\x64
- macOS: ~/Library/[username]/Library/Application Support/PreSonus Software/Studio One
