Modern Music Tips is a series that examines practical and creative ways to use effects processing in contemporary music productions.
Spreading The Sound Around: Create Vivid Sonic Imagery with Flanging
If you’ve ever listened to the music of Led Zeppelin, David Bowie, The Beatles, Cyndi Lauper—and countless others—you’ve heard the iconic sonic character and legendary sound of a flanger.
In fact, most of us grew up in a world where flanging as a studio effect has been a part of our musical childhoods, and the modern sonic tapestry of our world. Indeed, the soundtrack to our very lives has been shaped by its resonant modulations. An essential effect, flanging makes sounds massive and wide and creates more memorable music.
Using only factory presets in this music example—which you can download instantly with fully-functioning FREE 30-day demos and check them out for yourself!—we take a look at how flanging can make your music more engaging.
What Is Flanging?
Over the years it has been described as sounding like “a swooshy or swirly” sound or “something that makes think the music is circling around you”, Flanging is a very distinctive sound and can be used on almost any sound that is in need of more life in the mix.
The method of tape flanging was originally achieved by playing back a track on two separate tape machines and using your thumb to apply pressure to the “tape flange” thereby slightly slowing down one of the machines, and the tape recorder’s motor would do its best to maintain a constant speed.
A Modern Solution For A Modern Problem | The Instant Flanger
Released in 1975, The Eventide Clockworks Instant Flanger (FL 201) was designed to simulate true tape flanging and it was the world’s first studio flanger effects processor. As with many Eventide effects processors, it does much more than just what its name describes…

The Eventide Clockworks FL 201 Instant Flanger (1975)
To celebrate the company’s 50th anniversary, Anthony Agnello highlights the details behind the products that started it all for Eventide with his Flashback Series. For a comprehensive history on this innovative product, please check out his full story here: 50th Flashback #5: The Instant Flanger.
True End-To-End Emulation
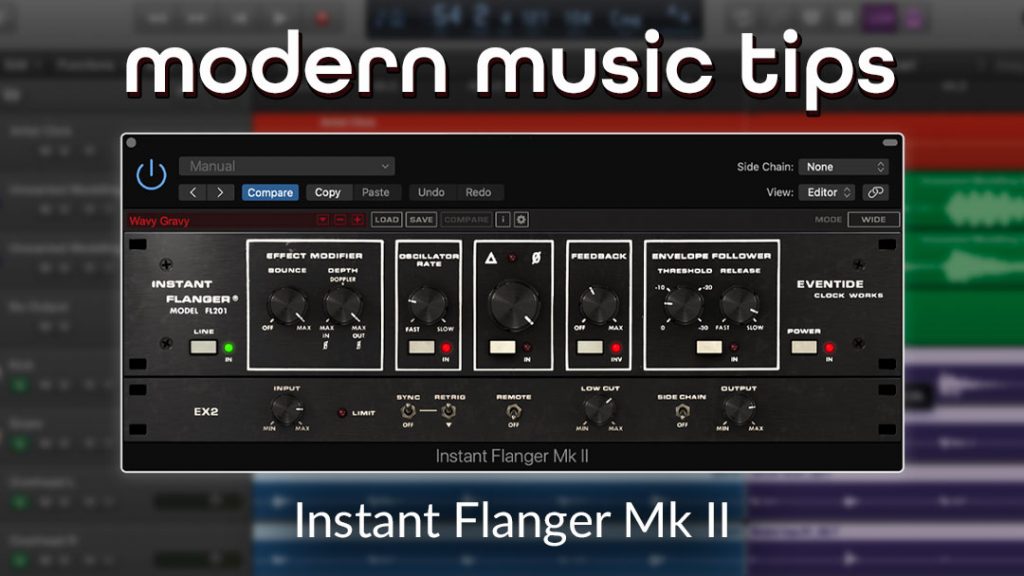
Fast forward almost a half-century, and now the original studio flanger is available as a faithful plug-in emulation of the 1975 unit with Instant Flanger Mk II. With dual outputs that create three different sonic images—Shallow, Deep, and Wide—The Instant Flanger sound is more accessible and dynamic than ever before!

Instant Flanger Mk II plug-in
- Learn More: The Making Of The Eventide Instant Flanger Mk II | An Authentic Emulation of The Original Studio Hardware
- Check Out the Plug-in Overview: Eventide Instant Flanger Mk II Tutorial & Demo
The Instant Flanger Mk II In Action | A Practical Example
For this example of how to apply the sonic spreading and character widening features of this processor to instrument parts of a track, I have picked a production of mine entitled “First Avenue”, which is an homage to the timeless and highly influential Minneapolis Sound.
1. The Drums
Preferring to combine loops, pattern fragments, and performance-programmed percussion tracks to create lots of rhythmic interplays. The drums section of this track is thirteen channels, however, I am only using The Instant Flanger Mk II on two of them.
For adding quick movement and motion to the most transient material, I blend the crunchier, more intense mod spreading sounds from this device under the center image of the dry drums, widening the entire section with this motion image glue technique.

The Instant Flanger Mk II KanKrunch Preset (Drums)
Set This Up: Process these two drum tracks in parallel (sending each track to an aux return and applying The Instant Flanger Mk II to that aux return channel) and mix the original dry signal/channel against the processed one until there’s enough layered movement without overpowering the dry center image of the drums.
I used one of my personal presets here—Preset Menu > 04 – Artists > Andrew Emil > KanKrunch—to give these already rhythmic parts some more space, width, and motion to ornament the percussive details even further than their already syncopated counterpoint relationship.
2. The Bass/Guitar
The live electric bassline is a main focal point of the groove, but a leading member of the musical idea contained in this Electric Funk instrumental. I want to keep that focus on the bass guitar sounding—and feeling—like it’s still hitting you in the chest while it also feels like it’s surrounding you.

The Instant Flanger Mk II H910ish Preset (Bass)
Set This Up: Using a doubling metallic-like stereo crunch—Preset Menu > 03 – Metallic > H910ish Preset—by again, parallel processing the centerpiece groove utility aka the bassline of this song, for the most control over the modulation dynamics, wet/dry amount, and the amount of stereo width.

The Instant Flanger Mk II Funk Bass Preset (Guitar)
I needed a lot more modulation/oscillation from the processor to make the rhythm guitar mute patterns jump out of the center image, but also feel more like a wide staccato pattern of guitar strumming.
Set This Up: Use a setting described as subtle—Preset Menu > 01 – Subtle > Funk Bass Preset—and this stock setting gives me a more distinct center image with the stereo sides a bit more subtle.
3. The Keys
For the three main keyboard parts of this track—Synth Brass, E. Piano Chords, and Synth Stab—I used two of the subtle effects from this device to get wider stereo imagery in the instrumental parts, creating more motion in the section.
For the main Synth Brass and the Synth Stab sounds I used one of two presets—Preset Menu > 01 – Subtle > Woozy Preset—that I use often with the Instant Flanger Mk II for adding that extra character and life to bland sounds.

The Instant Flanger Mk II Dry Acoustic Preset (Keys)
For the E. Piano Chords sound, I used the other one of the two presets—Preset Menu > 01 – Subtle > Dry Acoustic Preset—that I find highly useful for these types of instrumental sounds and timbres. These two settings offer much of the character of the processor without overpowering the initial audio.

The Instant Flanger Mk II Woozy Preset (Synths)
Set This Up: Insert the processor on each individual channel directly inline on the channel, as I want to have this musical element on that channel be fully contained by the Instant Flanger. This is a very quick way to get instantaneously cool sounds and sonics.
4. The Synths
The final touches on this keys and synth section mix come from using three different types of reverb from the SP2016 Reverb, and another one from the extraterrestrial reverb, Blackhole® Reverb to achieve a well-balanced, and colorful variety of space design effects.
Set This Up: Aux send the E.Piano Chords to a plate reverb with the SP2016 Reverb—Preset Menu > 01 – Spaces > 02 – Medium > New Plate Preset—send the Main Synth Brass to room sound reverb with the—Preset Menu > 01 – Spaces > 03 – Large > Sheen Preset—the Synth Stabs to a stereo room—Preset Menu > 01 – Spaces > 02 – Medium > Subtle Stereo Preset—reverb space.
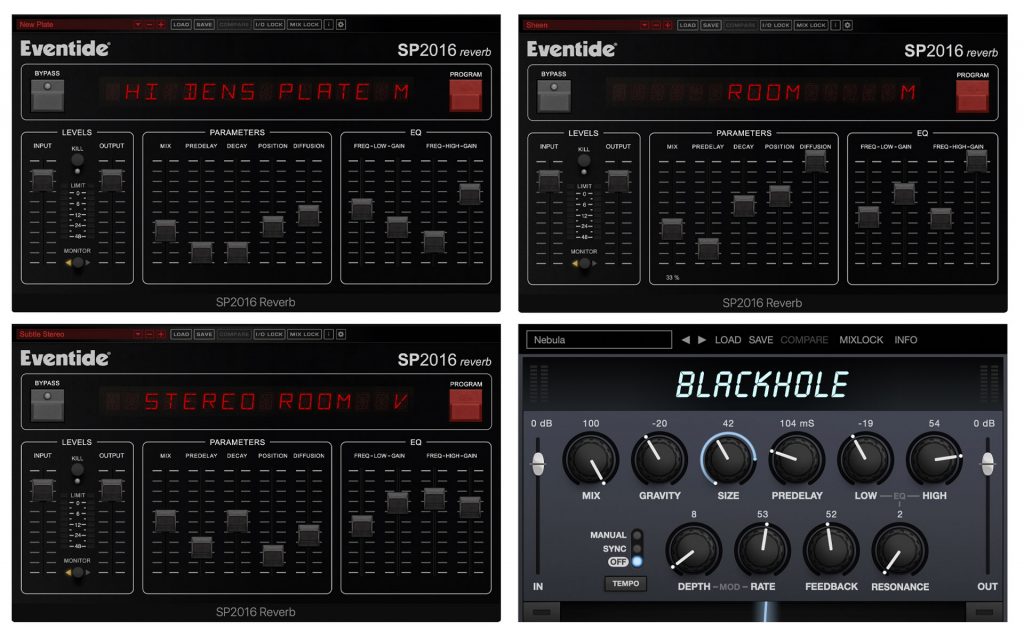
The SP2016 New Plate, Sheen, Subtle Stereo Presets, and Blackhole Nebula Preset
Finally, I group the Synth Pads together and aux send them to the Blackhole® Reverb, using a long-time personal favorite processor and—Preset Menu > 01 – Factory Presets > Nebula Preset—stock patch.
Spread Your Music Around | Flange To The Future
The use of modulation and stereo field spreading or imaging devices will inherently change the fundamental sound of the audio, therefore it’s always a good practice to start small, adding the effect progressively, as incredible results can be achieved with very little application.
> FREE & FULLY-FUNCTIONAL 14-Day Trial of The Instant Flanger Mk II Plug-in: HERE <
> FREE & FULLY-FUNCTIONAL 14-Day Trial of The SP2016 Reverb Plug-in: HERE <
> FREE & FULLY-FUNCTIONAL 14-Day Trial of The Blackhole Reverb Plug-in: HERE <


